Setup RustDesk unattended Access for Remote Support
RustDesk is a free Remote Destop Software, which we use to login to remote systems. The main advantage of RustDesk over other Remote Desktop Connections is, that is does interfere with installed GPUs (eg. installing a Virtual GPU), therefore not interfering with PLAYDECK during Remote Access.
1. To get started, download our customized RustDesk from our website. This version will use our private RustDesk server (and not the public server) to protect your data and improve the connection speed.
https://get.remote-joy-event-media.de/rustdesk.exe
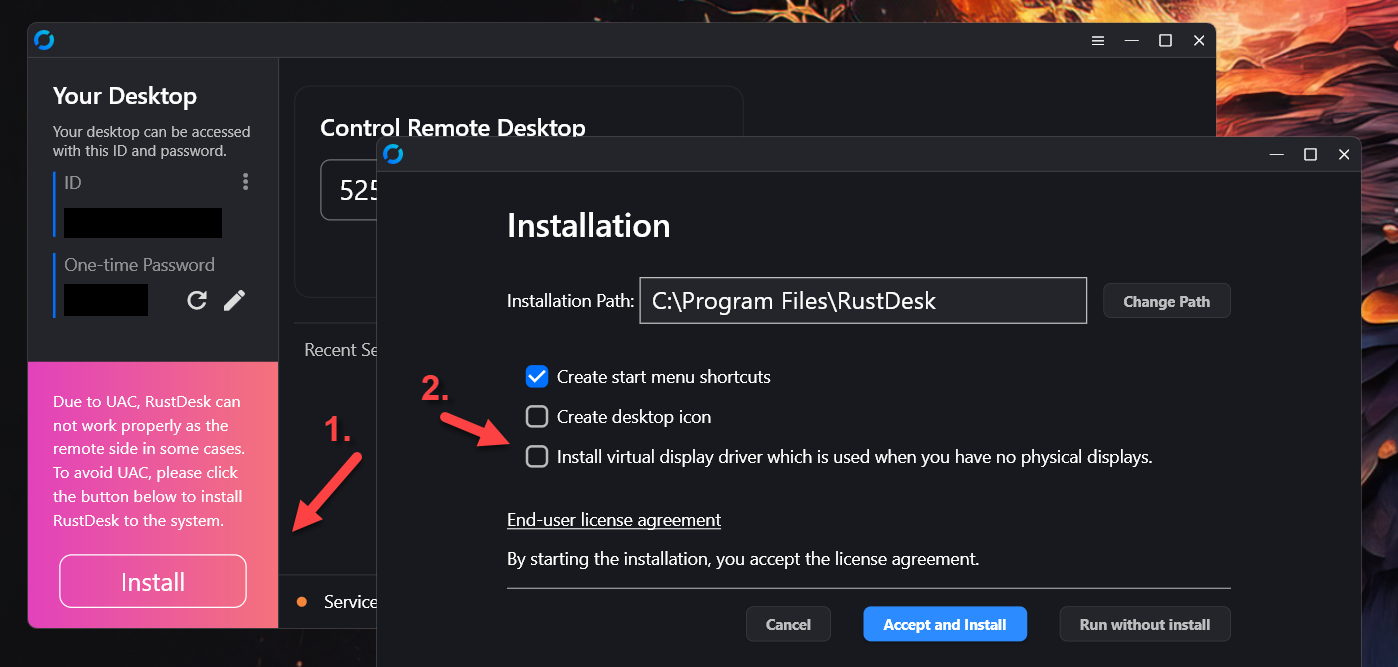
2. Once you start RustDesk for the first time, you will need to install it. Please deactivate “Install virtual display driver”, which might interfere with PLAYDECK.
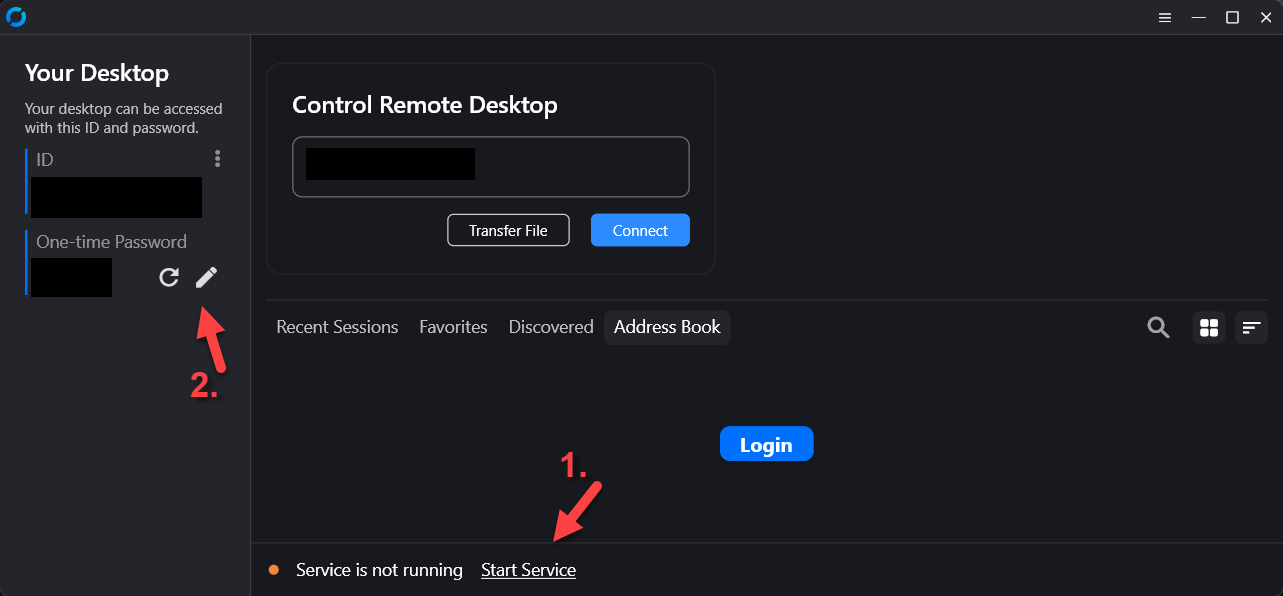
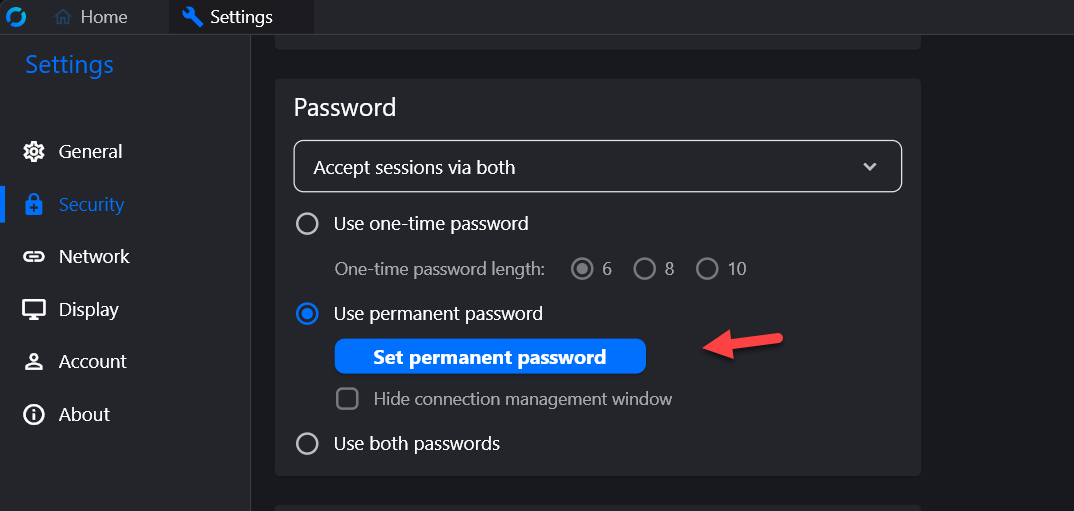
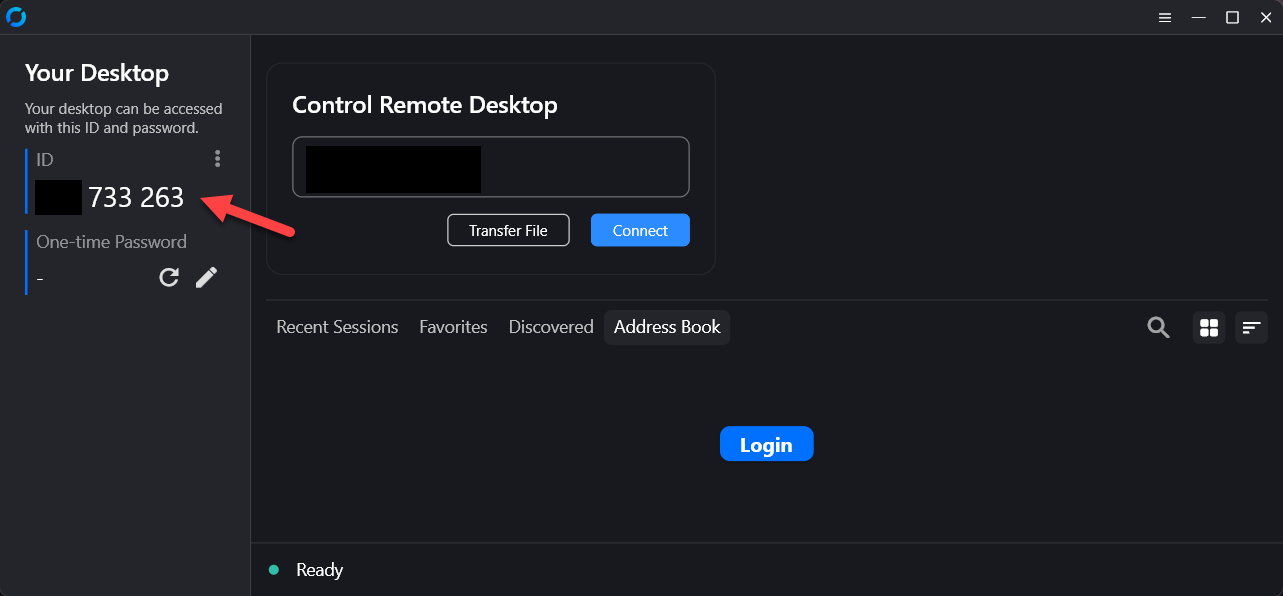
3. After re-starting RustDesk, you will not need to activate “Start Service”. This is important to elevate priviliges to e.g. open the device manager. After that you need to setup a permanent password: Click on the Edit Icon next to “One-time Password”.
4. Then click on “Unlock Security Settings” and scroll down.

5. Please send us your ID together with your permanent password to [email protected]
6. (Optional) If possible, please start RustDesk on a secondary PC (No need to install) and test the connection to the System you have setup for remote support. Now thru this remote connection, on the secondary system, please try to:
– Open Device Manager
– Open Task Manager
– Open NVidia Panel
– Copy any File to this Folder: c:\Program Files (x86)\JoyEventMedia\Playdeck\
These tests make sure, that all needed support actions can be done remotely. If is likely, that any Anti-Malware or other Protection software breaks the connection. In that case please de-activate those Tools temporarily for the remote support session.