This article will show how to use Commands to control your Playout.
In this article:
→ Example: CUE+PLAY multiple Channel
→ List of all Commands and where to add them
→ Send Commands from other Apps
Example: CUE+PLAY multiple Channel
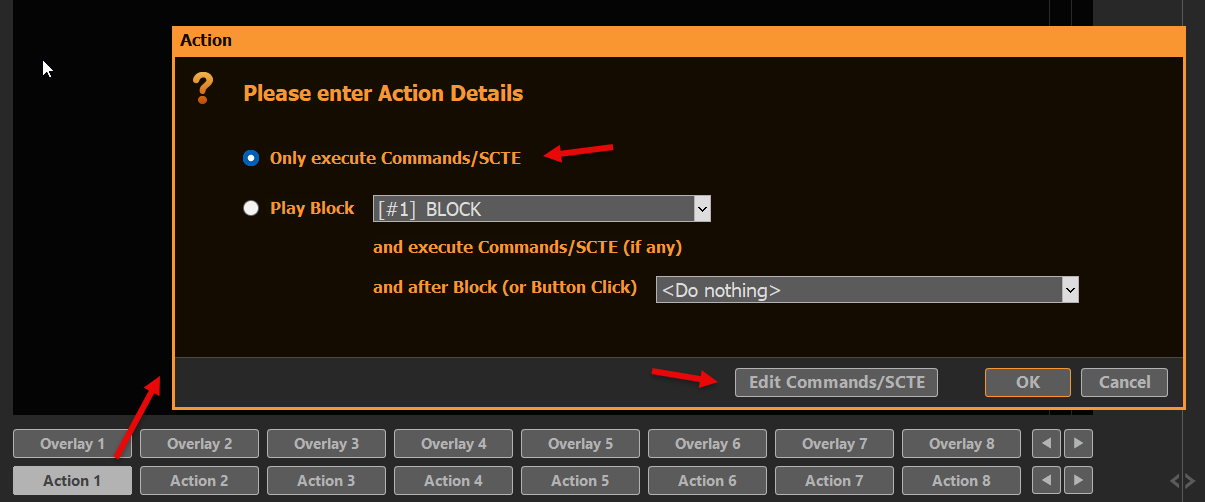
We want to create an Action Button, which will CUE several Output Channel and PLAY them simultaneously (almost synced).
Create a new Action Button by clicking on it and select COMMANDS, then EDIT COMMANDS:
Add this Line under “COMMANDS – Internal”:
<cue|1|1><cue|2|1><wait|1000><play|1|1><play|2|1>
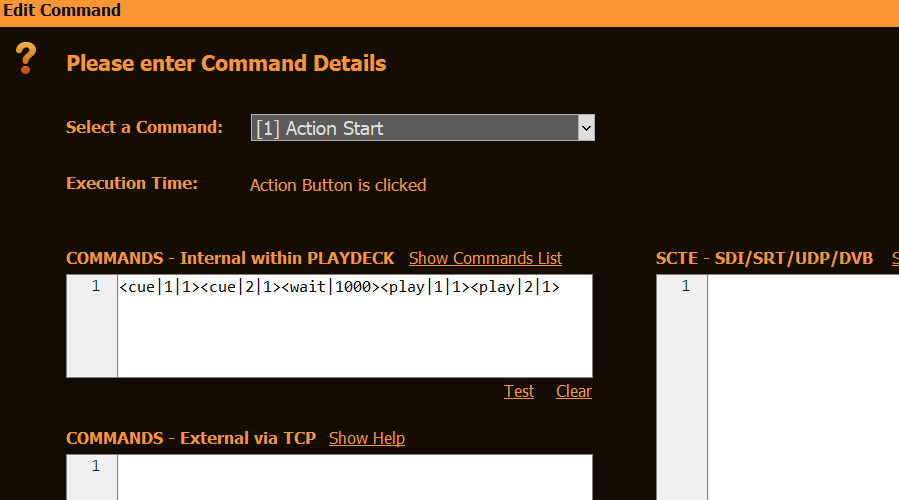
This will CUE Channel 1 and 2 (1st Clip 1st Block), then wait 1000ms (for caching), then PLAY both Channel.
List of all Commands and where to add them
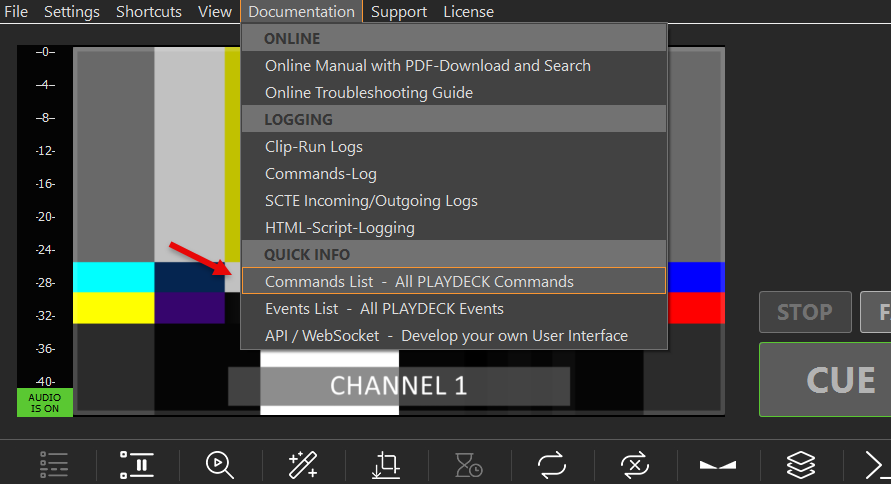
The List of all Commands can be quickly opened over PLAYDECK’s Main Menu:
Commands can be added to:
- Action Buttons (Start, End)
- Overlay Button (Start, End)
- Clips (Any Time)
- Blocks (Start, End)
Mostly via this Icon:

Send Commands from other Apps
We have a separate article on how to control PLAYDECK with Companion.
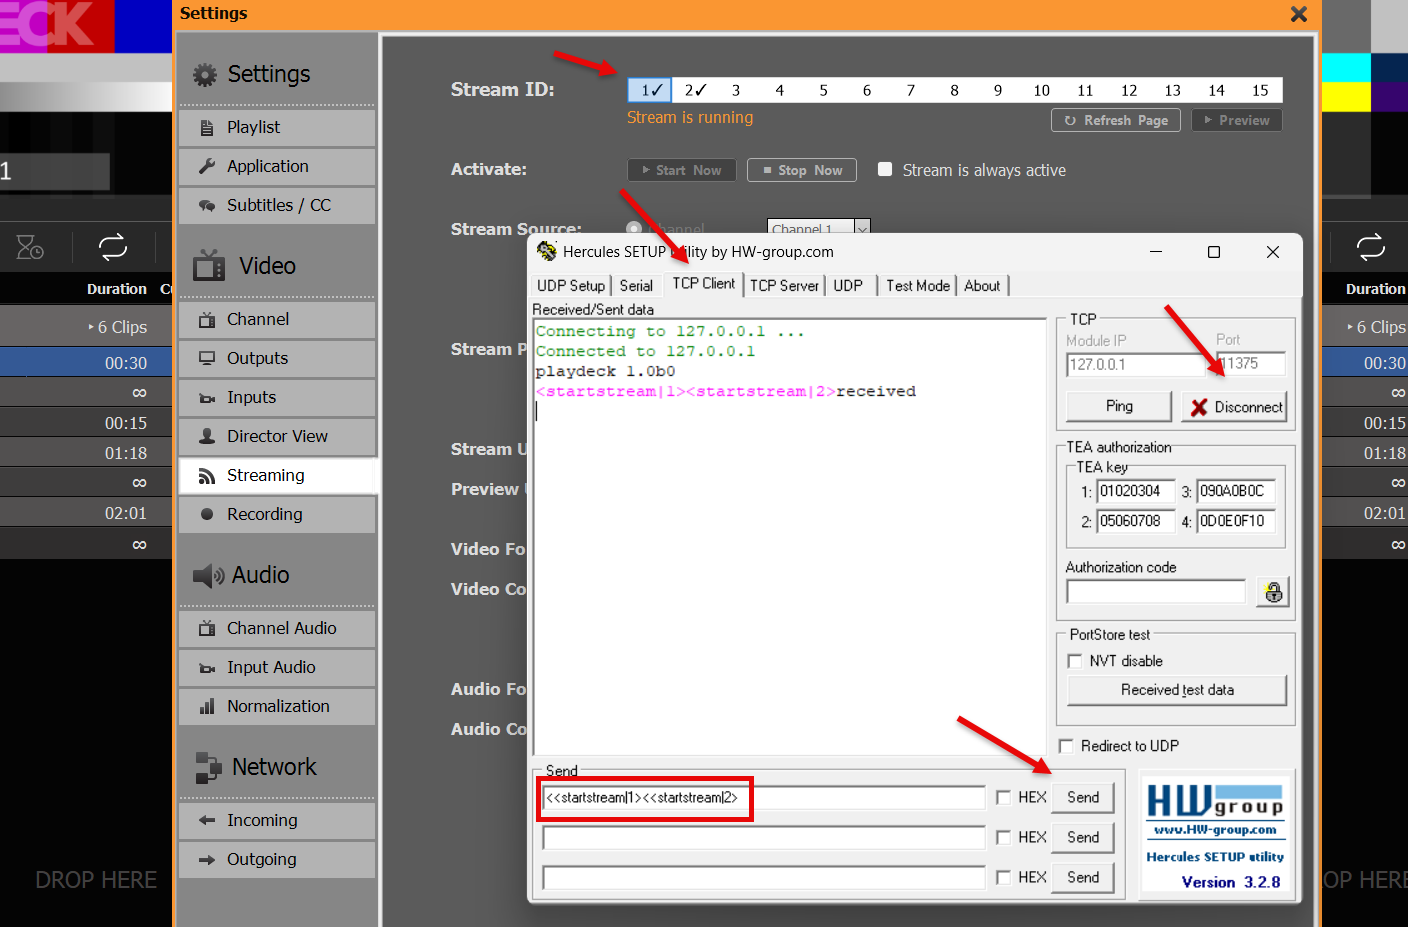
But what, if it is not Companion, but a different 3rd party App? First, you would need to enable TCP Commands. This will open PLAYDECK up to receive and execute Commands from external sources:
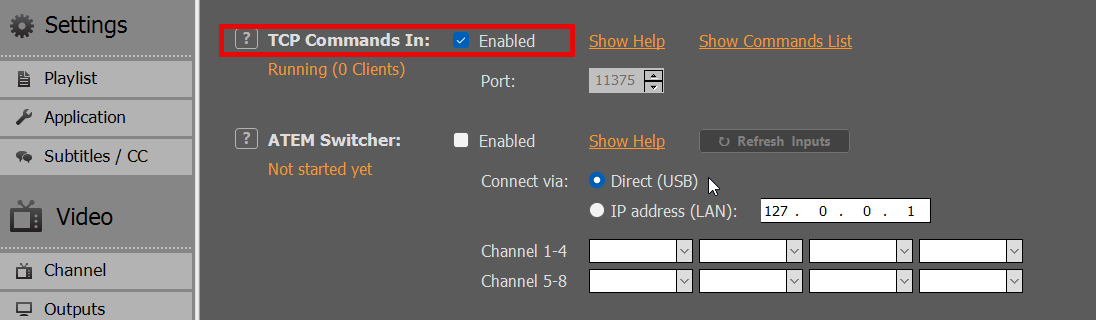
In your 3rd party app, connect to PLAYDECK via TCP and send one or multiple Commands. In this Sample we use Hercules to send a Command, which will start Streams 1 and 2: