Clip Related Functions
Each playback block consists of one or more clips. A clip can be a video, an audio track, a graphic, or a live input:

Meaning of the symbols and information from left to right:
- The green checkmark indicates that PLAYDECK has found the corresponding clip on the system and that it is suitable for playback. If a clip is missing or not suitable for playback, PLAYDECK displays a red cross here.
If you want to skip a clip during playback without deleting it completely from the playlist, click on the green checkmark. This disappears and at the same time the entire line is grayed out. Clicking it again will add the clip back. - Next to it, the file name of the clip or, if you have used the Rename Clip function, the clip name you have assigned is displayed.
- The next column contains the duration of the clip. If you have marked the clip with IN and/or OUT points, the actual display duration is indicated here.
- If you have trimmed the clip by setting IN or OUT points, green braces will appear. If you have cropped the clip, this is indicated by four small green angles. Move the mouse over the symbols to see the corresponding values.
- If you have looped a clip, a round arrow is displayed here. Move the mouse over the icon to see details.
- A value in dB indicates the level by which the playback volume of a clip is increased or decreased. The value may have been determined automatically or entered manually. Move the mouse over the value to get more information about sampling rate etc.
- If a clip has been provided with a transition effect to the following clip, you will find the transition type and effect duration next to it.
- If you want the display of overlays to start at the same time as the playback of the clip, you will find the corresponding information here.
- If desired, PLAYDECK will automatically check whether the resolution and frame rate of a clip match the set output resolution. A white i indicates a match, an i in an orange box indicates differences.
Move the mouse over the i to get more information.
Clips can be moved my clicking and moving the Clip. If you press CTRL after starting dragging, the Clip will be copied instead of moved.
Right clicking a clip in the playlist opens the corresponding Clip Functions menu. This menu shows partly different entries depending on the type of clip:

Insert Clip, Insert Live Input or Insert Note inserts a corresponding item BEFORE the selected clip.
Rename allows you to give the clip an alternative name without renaming the original file.
Delete deletes the corresponding clip from the playback block.
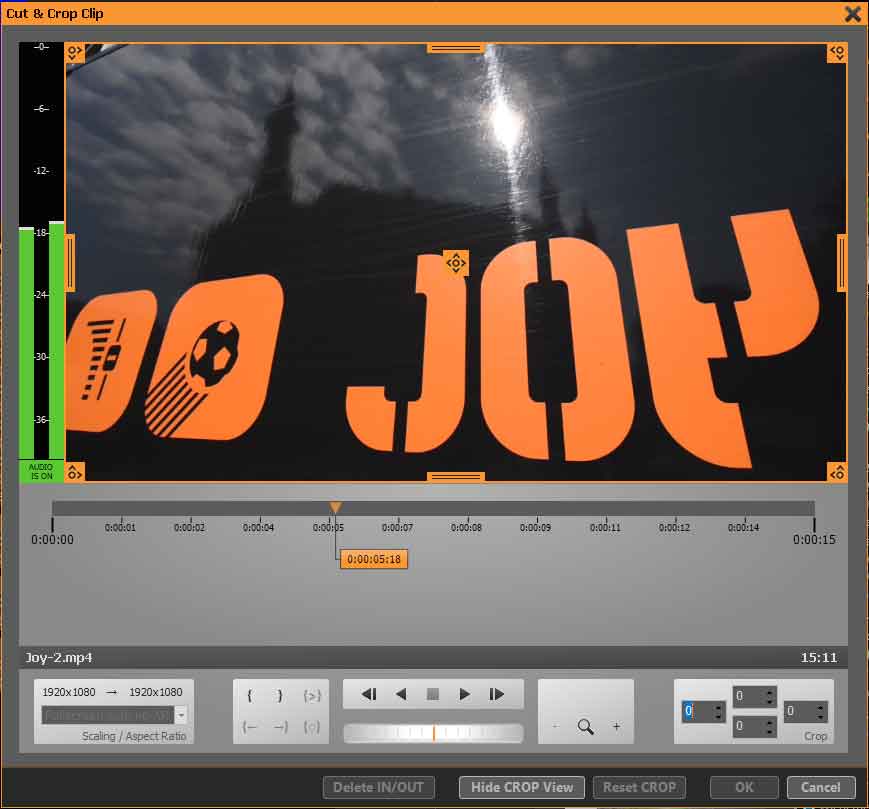
Cut/Crop opens another submenu where you can add IN/OUT points to the clip and also crop it in size:

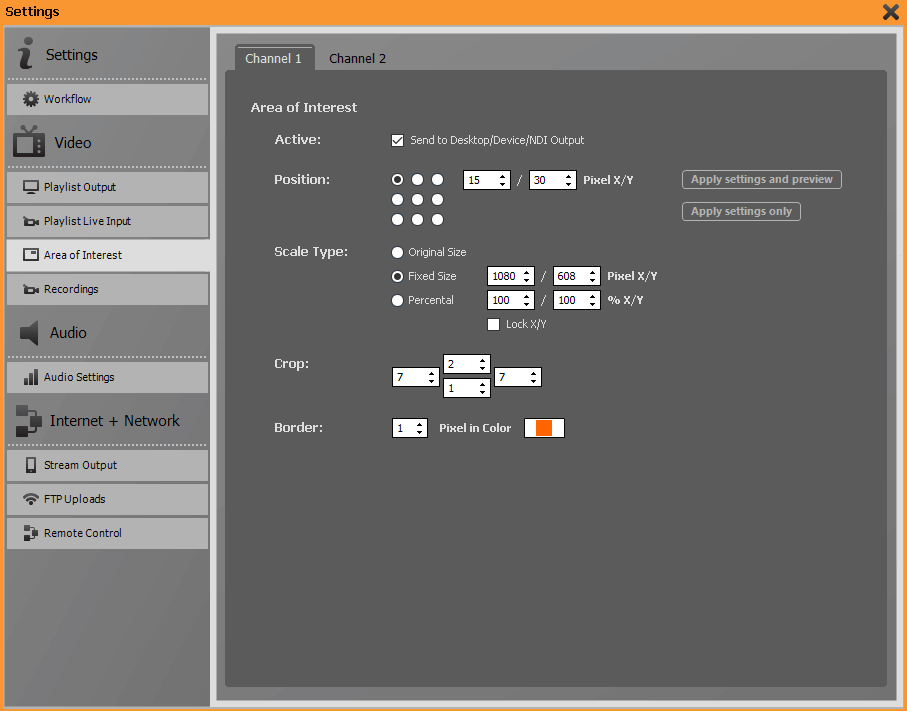
You set IN and OUT points with the help of the braces. In the Crop area you specify in pixels which area is to be cropped away from the four sides.
On the far left, you specify the scaling that PLAYDECK should apply when you use the Crop function. None of these operations will affect the original media file. The original file always remains unchanged.
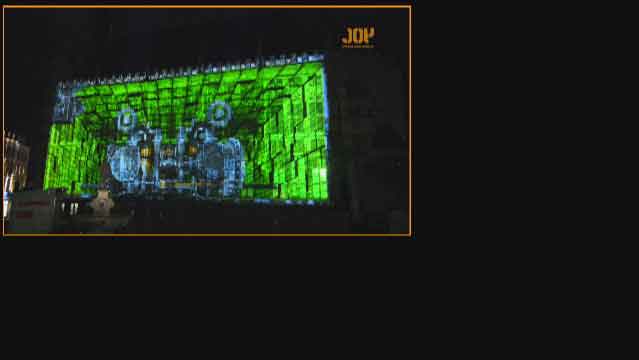
Click on Show Crop View inserts markers on the preview window. You can grab and move them at a total of eight reference points. If you hold down the Ctrl key while moving a corner point, the current aspect ratio is maintained. Use the button in the middle to move the selected image section:
Change Duration (only active when right-clicking on an image file) opens a submenu with several options for the display duration of the image:
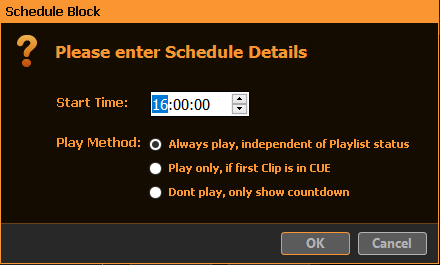
Please select here whether the image should be played back infinitely, for a certain duration or until a certain time is reached.
Change File opens the file explorer so that you can exchange the file for another one.
Overlays opens a submenu where you can set which of the prepared overlays should be automatically launched when the clip is played:
Mute mutes the audio track of the clip during playback.
With Set Custom Gain you can freely assign a volume to the clip.
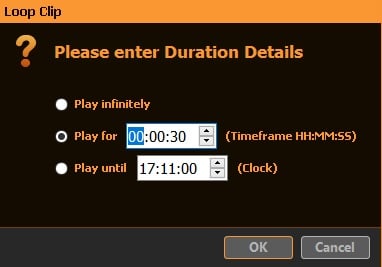
Add Loop opens a submenu that offers you various options for loop playback of a clip:

Please select whether the clip should be looped infinitely, whether the loop should be executed x times, whether the clip should be looped for a certain duration, or until a certain time is reached.
The Loop Clip to Block End function sets a repeat loop from the selected clip to the last clip of the playback block.
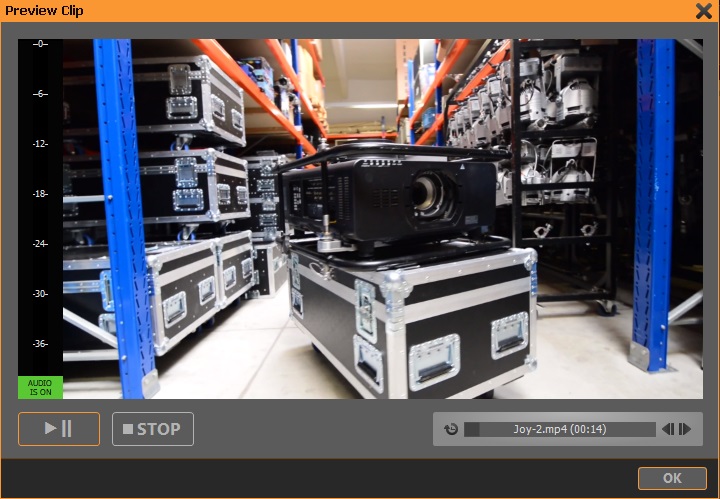
Preview opens a preview window of the corresponding clip. You can preview a clip while another clip from the playlist is playing. You can start and stop the preview playback and also jump through the clip in the Clip Progress Bar. The audio is played back during preview via the Windows default audio device. If you want to temporarily mute the audio playback, please left-click on the green “Audio is ON” icon below the VU meter. The field will then show “Audio is OFF” in red. Clicking it again reactivates the audio playback.
Properties opens a window with the file properties.
If you overwrite a file on your hard drive with a file of the same name, click Reload Clip to have PLAYDECK add the new file to the playlist.
Upload uploads the selected clip to the server defined in Settings – All Settings – FTP Uploads – Playlists.
Add Transition inserts a transition effect from the selected clip to the following clip. You can select the effect type and duration, set these values as default or use the previously saved default transition.
If you want to apply the same transition effect to several clips, you can select them together by holding down the Shift key.
If you want the loudness of all clips to be re-analyzed and re-adjusted, please select Redo EBU R128 Calculation.
Attention! All clips in the playlist will be re-analyzed, which takes some time depending on the length of the playlist.
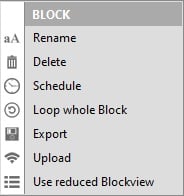
The Use Reduced Block View function hides the block headers and the block end commands, allowing the operator to see a larger part of the playlist.
A stop command at the end of a block is represented by a solid red line, a pause command by a solid orange line, a pause & auto-cue command by a dashed orange line and a loop command by a solid green line.
Clear Playlist deletes all contents of the corresponding playback channel.
Show Clip in File Explorer displays the file folder where the corresponding clip is located and highlights the clip.