Activate your playdeck.tv License

This article will show how to activate your License and remove the Watermark from the TRIAL Edition.

If you already have activated your License and want to know how to MOVE the License to another System, please see this article.

There is no seperate “Full Version” Download, you simply transform your TRIAL Edition into a LITE, PLUS or STUDIO Edition. Always download and install the latest Version of PLAYDECK, since we publish regular updates:
https://playdeck.tv/download/

Shop License

All your Shop Licenses, that you purchased via playdeck.tv, will be stored in your personal Online License Pool. This helps you organise multiple Licenses.

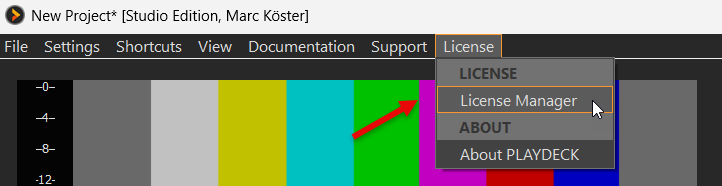
To transfer your license from the Online License Pool to your System, go into your License Manager:

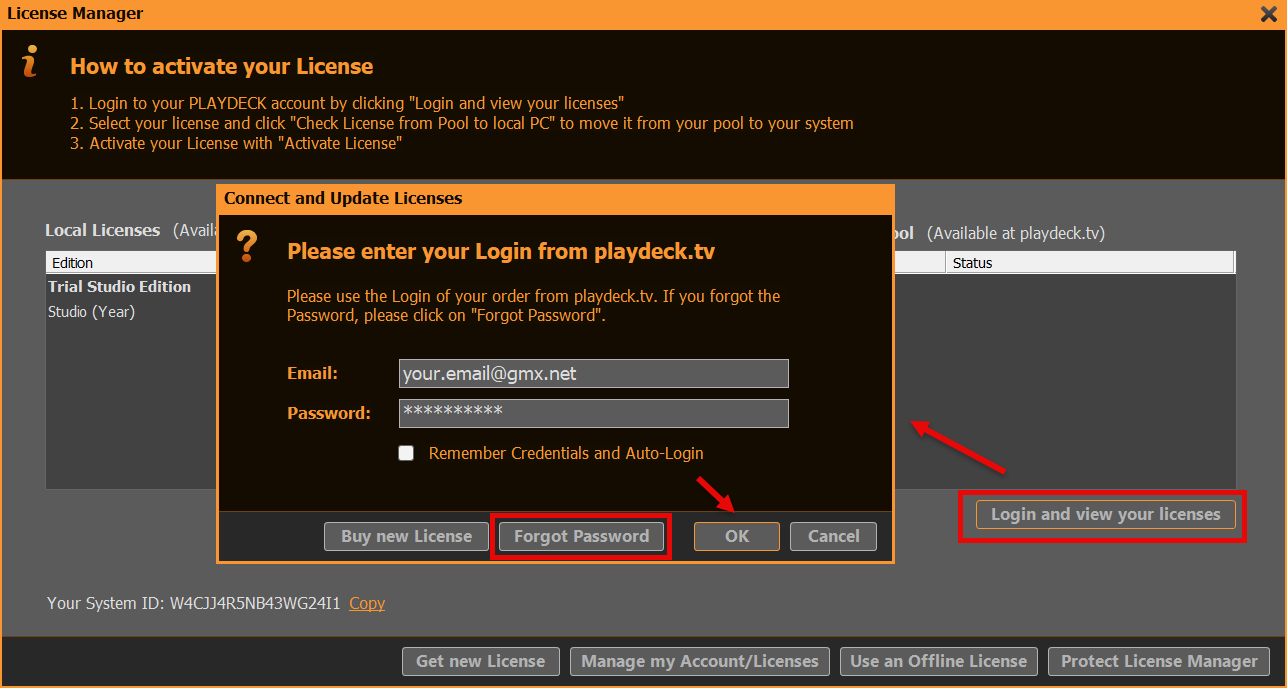
Now login to your PLAYDECK ACCOUNT. Use the email adress and password, which you used during CHECKOUT in the SHOP. Use the FORGOT PASSWORD button, if you need to reset your password:

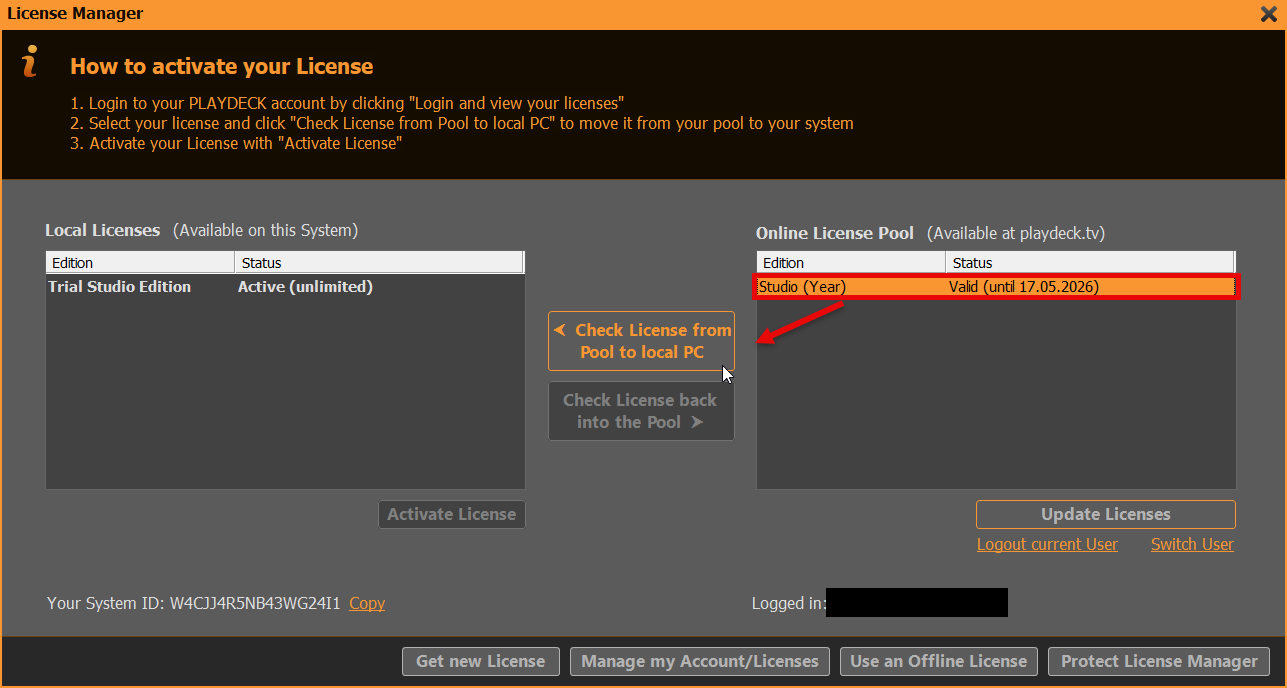
We can now move the License from you RIGHT Side to the LEFT Side with a Button Click (CHECK LICENSE FROM POOL TO LOCAL PC). This means, that the License becomes UNAVAILABLE to other Systems and becomes AVAILABLE on THIS System. PLAYDECK will now offer to activate the License and restart:

Dongle License

Simply attach the USB Dongle to the PC, then start PLAYDECK on that PC. Please note, that if you detach the Dongle while PLAYDECK is still running, PLAYDECK will close immediatly and without prior notice. It is recommended to close PLAYDECK regulary to ensure, that all Data is saved properly.

Offline License

The Offline License is bound to the PLAYDECK System ID and can NOT be moved to another System by the Customer. To activate your Offline License, open the License Manager:

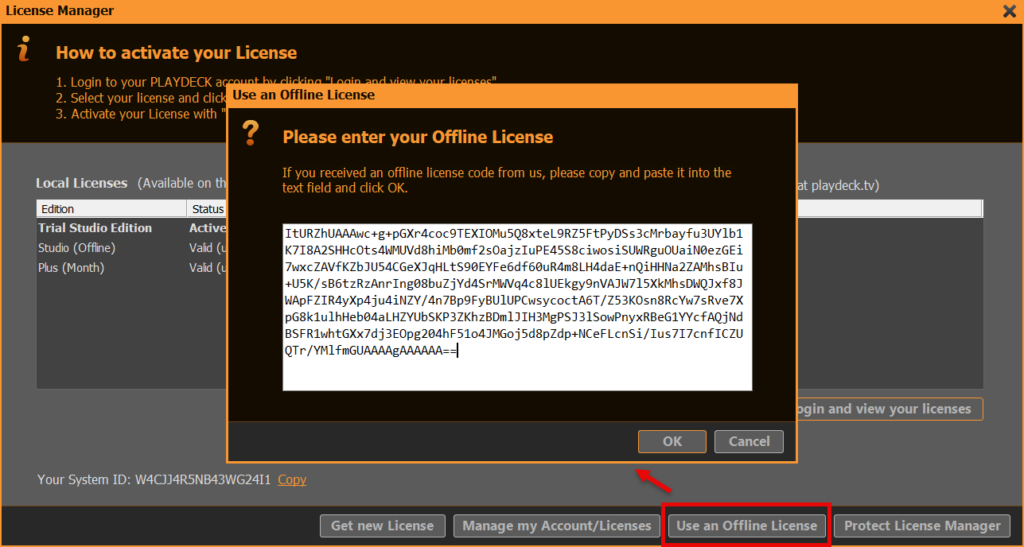
Then click on USE AN OFFLINE LICENSE and copy and paste the Offline License Code into the Textfield and click OK. PLAYDECK will now offer to activate the License and restart:

Backup License

We have a separate article on how to use the Backup License.


High-end SRT Streams to Cloudflare CDN

This article will give pointers on how to improve your Streams even more. In this example we use Cloudflare, but this can be any provider.

These are the optimized Settings as overview. We will explain them in detail:

Video Format

It is recommended to select a specific Video Format instead of using AUTO, just to avoid any problems with automatic detection.

Video Codec

We know that Cloudflare support H.264 Encoding, so we can use our GPU. If you dont have NVIDIA or your GPU is maxed with other Tasks already, select “Intel QuickSync SW H.264 Encoder”, which will try to use your Onboard Intel-GPU and falls back to CPU otherwise.

We then pick 8 Mb/s as Bitrate, which is a Cloudflare CDN requirement.

With the Options “minrate=8M maxrate=8M” we basically force CBR (Constant Bit Rate) to our Stream. Click this Link on more Info about CBR with H.264.

We also add the Option “g=100”, which sets the Key Frame Interval, also know as “GOP (Group of Picture) length” or “IDR period”. The rule-of-thumb here is to set the GOP twice as high as your framerate, which would be 50 in this case. We use 100 here to compress even more, resulting in less used bandwidth, which in turn makes your Stream more stable. A higher value also reduces buffering, but not all provider can process high values. Reduce your GOP, if you Content has alot of Action and your need more key frames. The default GOP is 15, which is a failsafe to ensure, that there are no artifacts in the picture.

Audio Format

We use 96 kHz Sample-rate and 32-bit as Bit-depth, which will make absolutely sure, that all possible audio sources are processed at high quality. Since the Audio Stream has a very low impact on the overall bandwidth, it would be unwise to go low.

Audio Codec

There is not much choice here for the Encoder, as AAC delivers high quality low compression audio. Since we picked a higher Sample-rate and Bit-depth, we need to provide a bit more Bitrate here, so we set this to 224 kb/s.

As Options, first we set our AAC Encoder to the “TLS” mode by entering “aac_coder=0”. The Options here are:
0 – Two loop searching (TLS) method
1 – Average noise to mask ratio (ANMR)
2 – Fast constant quantizer method
TLS will have the highest quality with most audio contents. The default here is “2 (fast)”, which is also good, but can lead to crushing sounds at lower bitrates.

Next we also force CBR for our Audio Stream by setting “aac_coder=0 minrate=224K maxrate=224K bufsize=224K”. Click this Link for more info on CBR for AAC.